Thinking about listing your Westfield home but not sure where to start with staging? You are not alone. A few focused changes can make your rooms look brighter, larger, and more inviting to buyers. This checklist walks you room by room with practical steps, a simple timeline, and photo tips tailored to Westfield’s layouts and seasons. Let’s dive in.
Why staging matters in Westfield
Westfield sees four true seasons, which means light changes through the year. In winter, natural light can be limited, so you need warm, layered lighting indoors. In summer, bright sun makes clean windows, minimal window coverings, and shaded outdoor spaces shine. Many local homes have open-concept main levels, bonus rooms, and finished basements. Staging should define zones, show flexible uses, and make lower levels feel dry, bright, and livable.
How to use this checklist
Start with the basics in every room: declutter, depersonalize, deep clean, and repair small issues. Keep colors neutral and consistent. Use lighting to boost brightness and mirrors to reflect daylight. Then tailor the steps below to your floorplan and timing.
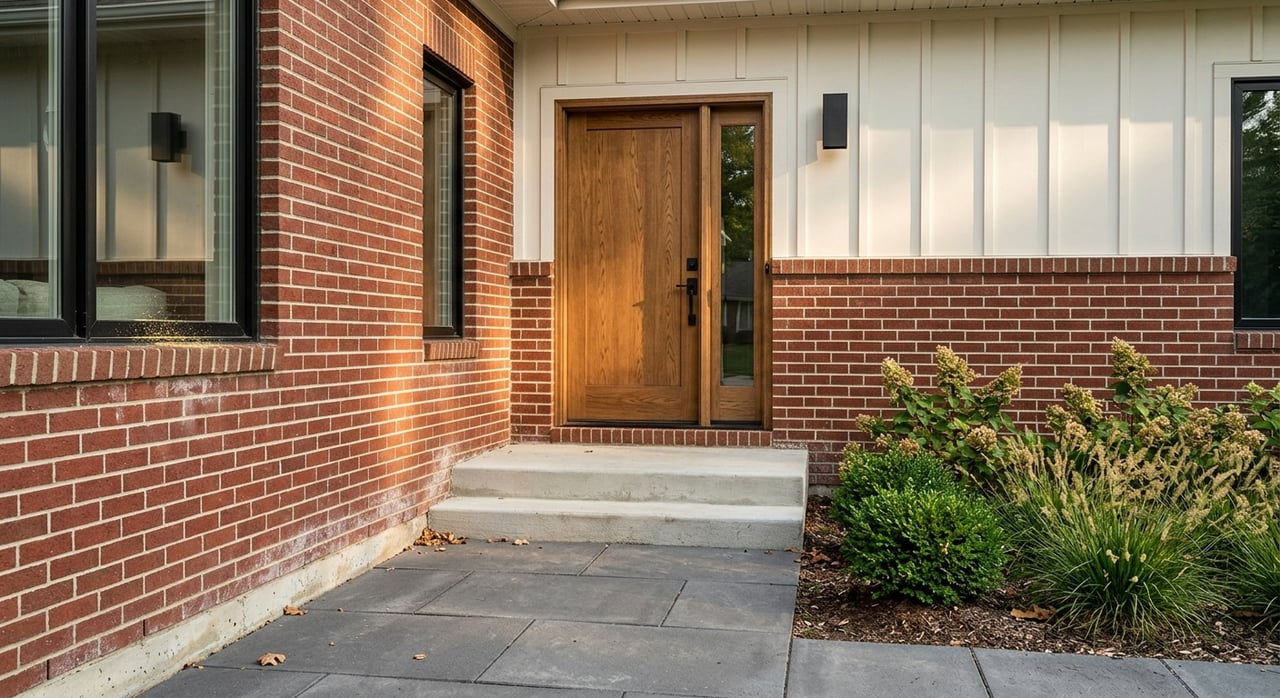
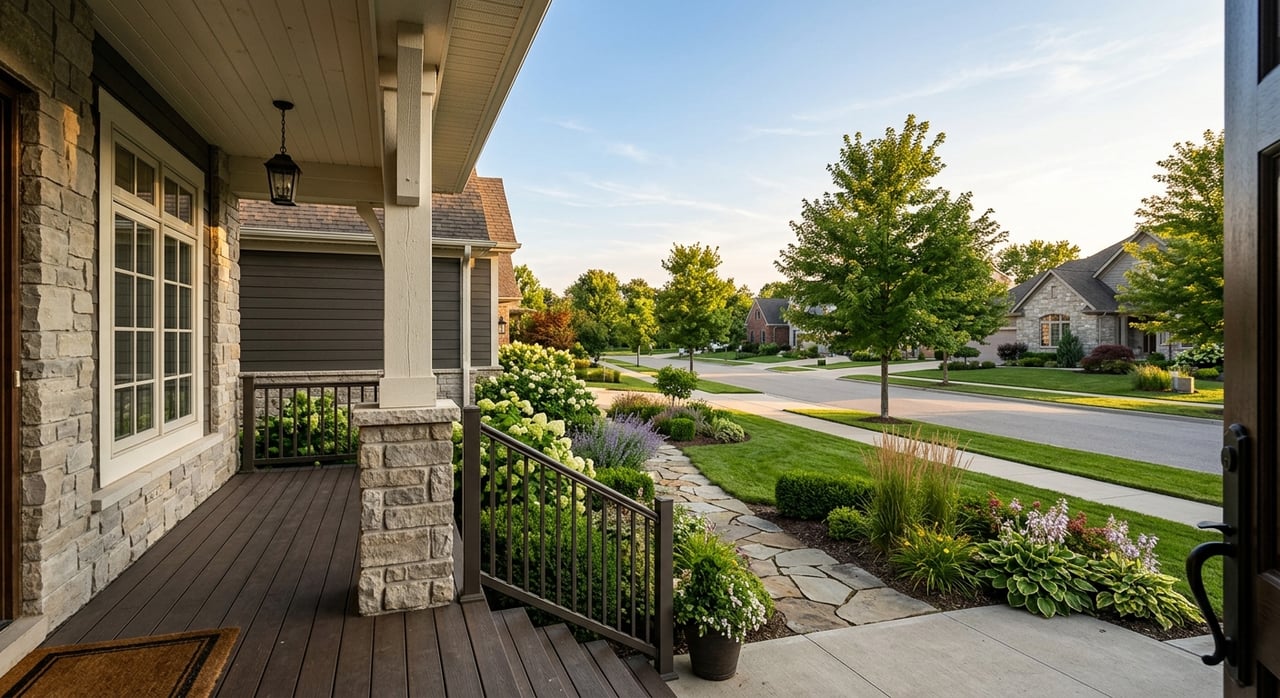
Entry and curb appeal
- Actions:
- Trim landscaping, edge lawn, and clear leaves or snow.
- Power-wash porch, clean door and hardware, replace burnt-out bulbs.
- Keep decor simple: clean doormat, two potted plants, visible house numbers.
- Visual priorities: Clear sightline from street to front door with a welcoming focal point.
- Photo focus: Wide-angle shot from the sidewalk that shows the path to the door.
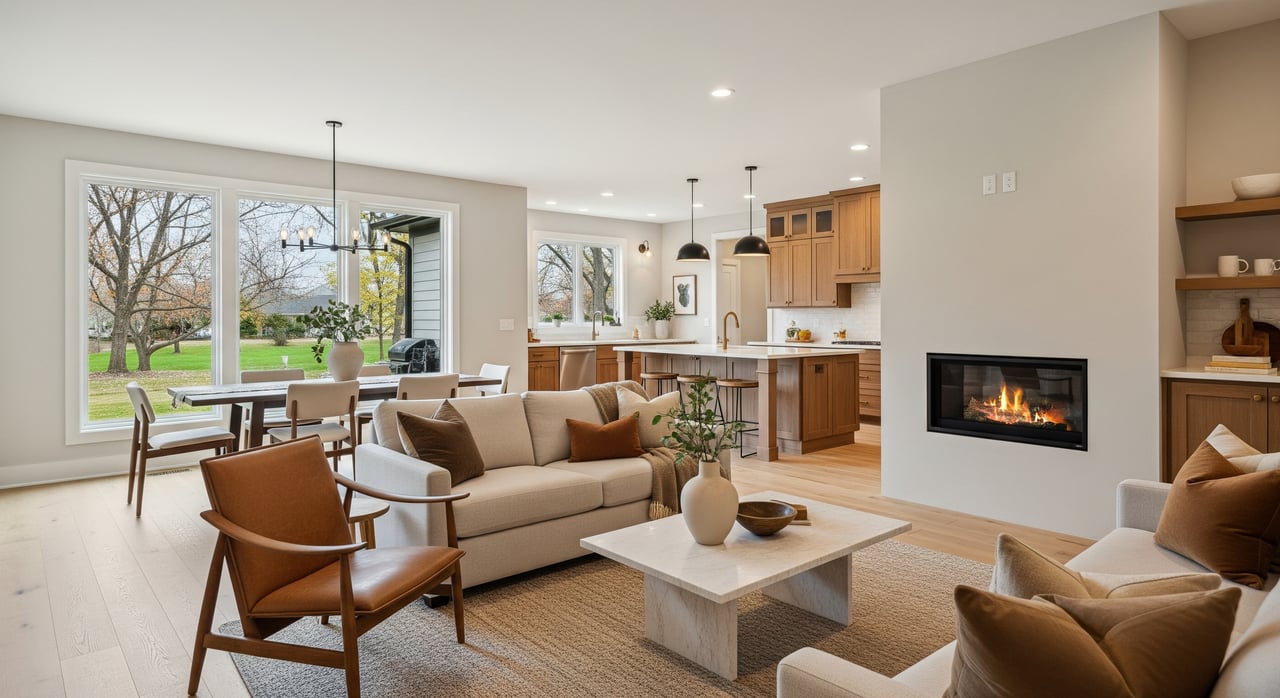
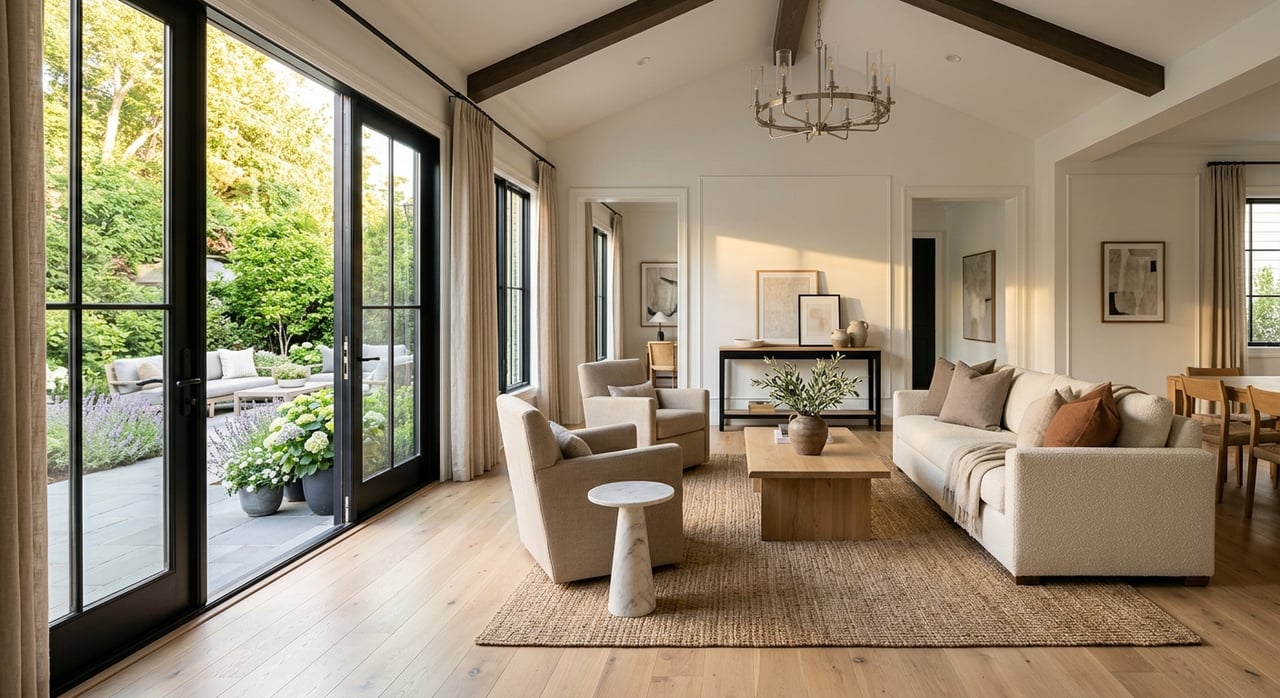
Living room and open-concept flow
- Actions:
- Remove extra or oversized furniture to open walkways.
- Arrange seating to create conversation zones; anchor with a rug.
- Minimize bold patterns and heavy window treatments.
- Light and space: Place mirrors where they reflect windows. Use ambient plus task lamps.
- Photo focus: Corner-to-corner shot that shows the living area and the connection to kitchen and dining.
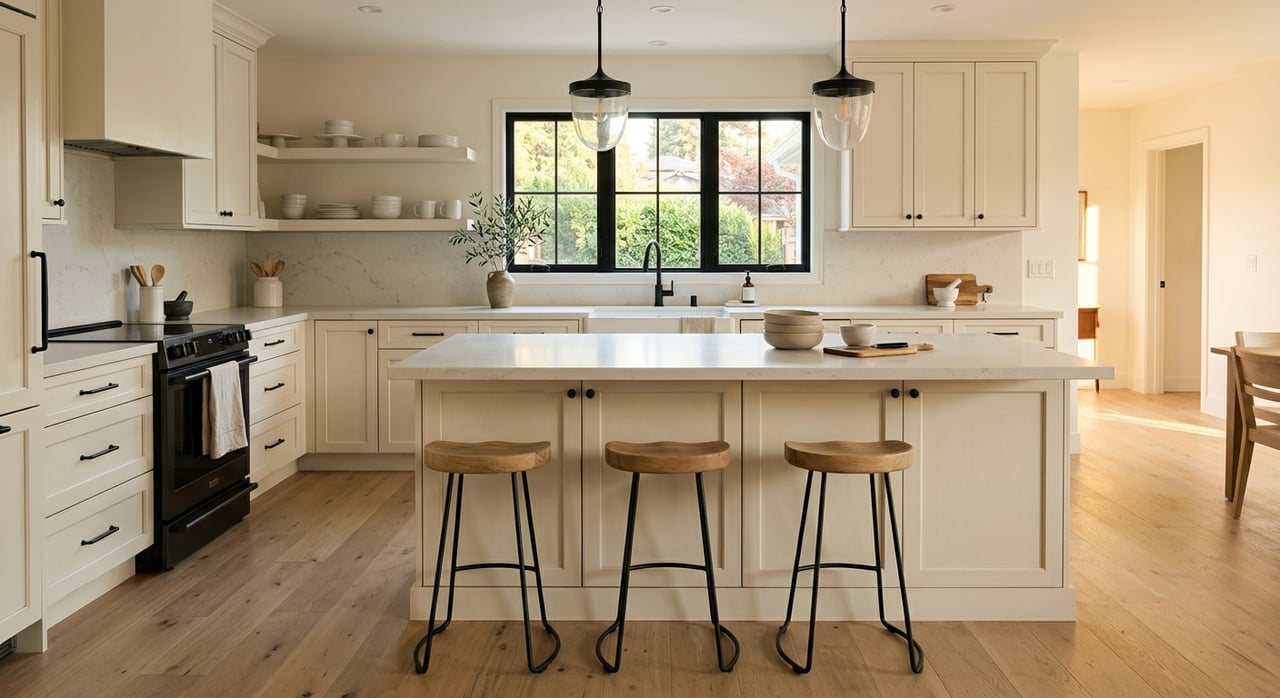
Kitchen essentials
- Actions:
- Clear counters, leaving 1–2 styled items like a bowl of lemons or a breadboard.
- Polish appliances, refresh caulk, and tidy visible cabinets and pantry.
- Consider under-cabinet lighting for warmth.
- Visual priorities: Clean, uncluttered prep space and a staged breakfast nook if you have one.
- Photo focus: Wide shot that shows the work triangle and the sightline to adjoining spaces.
Dining area setup
- Actions:
- Set a simple table for 4–6 with neutral place settings.
- Right-size the table to the room; smaller may show better scale.
- Visual priorities: Showcase entertaining flow between kitchen and living.
- Photo focus: Angle that frames the table and reveals the open layout.
Primary bedroom refresh
- Actions:
- Make the bed with layered, neutral bedding.
- Remove bulky furniture and clear nightstands.
- Organize closets using a one-in, one-out approach.
- Visual priorities: Restful mood with clear walkways.
- Photo focus: Shot that captures bed, windows, and doorway to closet or bath.
Secondary bedrooms and bonus spaces
- Actions:
- Stage for the most likely use in Westfield: home office, playroom, or guest room.
- Keep layouts simple to highlight size and flexibility.
- Consider desk plus daybed for multi-function.
- Visual priorities: Clear message about how the space works.
- Photo focus: Layout that shows furniture placement and storage options.
Home office clarity
- Actions:
- Declutter surfaces and hide cables.
- Add a task lamp and a plant for warmth.
- Keep decor calm and professional.
- Visual priorities: Productive, inviting workspace with good light.
- Photo focus: Desk framed with a window or shelving for context.
Finished basement brightness
- Actions:
- Add layered lighting and use light paint tones.
- Clean or replace dated carpet; control moisture with a dehumidifier.
- Stage a specific purpose like family room, theater, or guest suite.
- Light and space: Use mirrors and scaled furniture to avoid a heavy look.
- Photo focus: Wide shot that shows ceiling height and seating arrangement.
Bathroom polish
- Actions:
- Deep clean grout and fixtures; re-seal caulk.
- Use fresh white towels, minimal toiletries, and a small plant.
- Update dated hardware or lighting if budget allows.
- Visual priorities: Spa-like, pristine counters and mirrors.
- Photo focus: Vanity plus shower or tub in one clean, bright frame.
Garage and storage
- Actions:
- Declutter, sweep, and remove oil stains.
- Show organized storage and clear parking space.
- Visual priorities: Usable square footage and systems.
- Photo focus: Wide shot with the garage door open to show depth.
Outdoor living highlights
- Actions:
- Clean patio furniture and add potted plants.
- Mow and edge lawn; secure fencing and gates.
- Create a small seating vignette to show scale.
- Visual priorities: Comfortable entertaining potential.
- Photo focus: One shot looking out from the house, one from the yard back to the home.
Pet and lived-in home tips
- Actions:
- Remove pet beds, bowls, and litter boxes for showings.
- Neutralize odors and clean carpets.
- Use a quick-show checklist to grab personal items before each tour.
- Visual priorities: Neutral scents and an allergy-friendly feel.
Virtual vs. physical staging
- Virtual staging can be cost-effective for vacant rooms or to show alternate uses. Be sure to disclose virtual staging in your listing per local rules and share an unaltered photo where possible.
- Physical staging is stronger for showings and open houses since buyers experience the layout in person.
Before-and-after photo ideas
- Entry: Cluttered porch becomes a clean entry with two potted plants and a fresh doormat.
- Living area: Overcrowded furniture becomes a light, open seating zone with a right-sized rug and a mirror.
- Basement: Dark storage becomes a bright family room with lamps, a sectional, and a soft rug.
- Kitchen: Countertop clutter becomes minimal styling with a bowl of fruit and a single cookbook.
For honest comparisons, match camera angle, height, and lighting between before and after shots. Use simple captions that state exactly what you changed and why it helps buyer perception.
Your staging timeline and vendors
- 4–6 weeks before listing:
- Schedule a staging consultation and gather vendor bids.
- Book deep cleaning, painting, repairs, and any furniture rentals.
- 2–3 weeks before listing:
- Finish repairs, paint, and landscaping.
- Place furniture and add staging touches. Schedule professional photography.
- 3–7 days before listing:
- Final deep clean and declutter personal items.
- Confirm photographer timing, including any twilight shots.
- Listing day and beyond:
- Do a final walkthrough. Keep curb appeal and seasonal decor current during showings.
Common vendor partners include a home stager, furniture rental company, cleaners, painters, a handyman, landscaper, photographer, and optionally a virtual stager. Ask for written estimates, clarify who pays for rentals, confirm insurance coverage, and plan a final sign-off with your agent, stager, and photographer before photos.
Photography that sells
- Prioritize wide, high-resolution shots that show full rooms and sightlines.
- Keep lighting and color consistent across photos to create a cohesive story.
- Provide a clear shot list: exterior front, entry, two corners of the open living area, kitchen from two angles, dining, primary bedroom, a bonus room or office, finished basement, bathrooms, backyard or patio, and garage. Add detail shots of accents, storage, and updated fixtures.
Ready to get started?
If you want a customized room-by-room plan, timeline, and vendor coordination tailored to your Westfield home, our team can help you prepare with care and professional polish. Request a staging walk-through and we will share a prioritized checklist, estimated costs, and photography timing that fit your goals. Let our family help your family move forward with confidence. Connect with Shelly Walters to plan your best first impression.
FAQs
How much does home staging cost in Westfield?
- Costs depend on scope. A consultation is typically the lowest cost, while full staging with rental furniture is higher. Ask for local quotes that match your home’s size and needs.
Does staging help if I still live in the home?
- Yes. Occupied-home staging focuses on decluttering, rearranging furniture, improving lighting, and small updates so your rooms look larger and more inviting.
How long does a staging project take from start to finish?
- Simple projects can be done in a few days. Staging with painting, repairs, and rentals may take several weeks. Align completion with your photography and listing date.
Should I move out before staging my Westfield home?
- Moving out is not required. Many sellers stage while living in the home. Removing personal items and a few extra furniture pieces helps day-to-day show readiness.
Is virtual staging acceptable for my listing photos?
- Yes. It is useful for vacant rooms or showing alternate uses. Disclose virtual staging and provide an unaltered photo when possible to set accurate expectations.
What staging updates usually deliver the best return?
- Decluttering and deep cleaning, neutral paint, stronger lighting, and fixing visible maintenance issues typically offer the most impact for the budget.